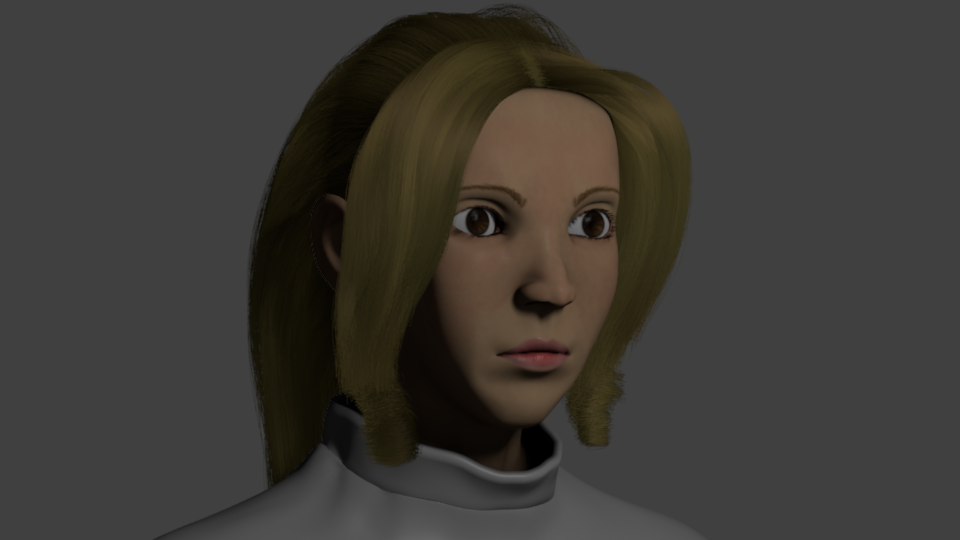
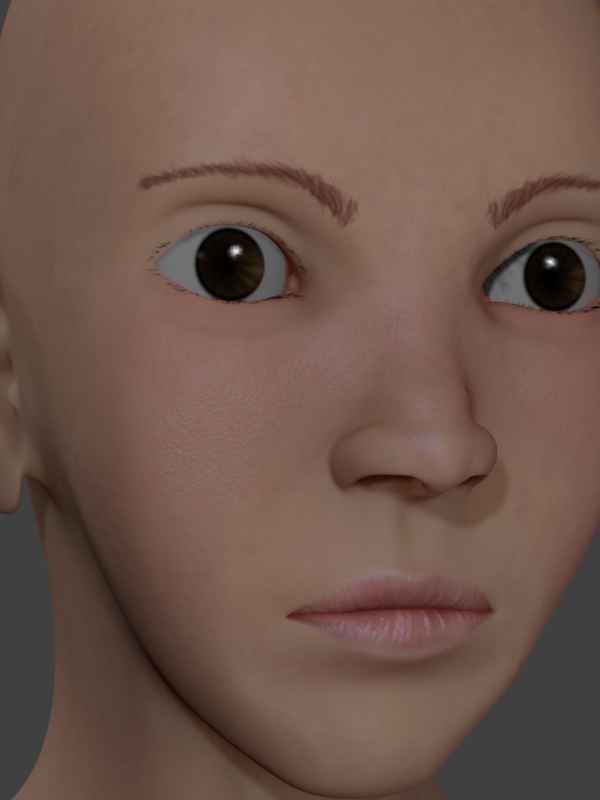
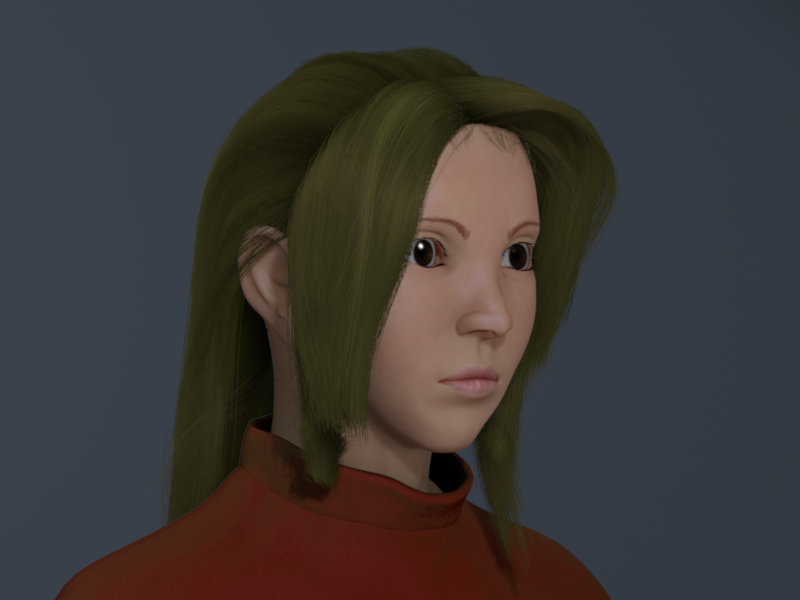
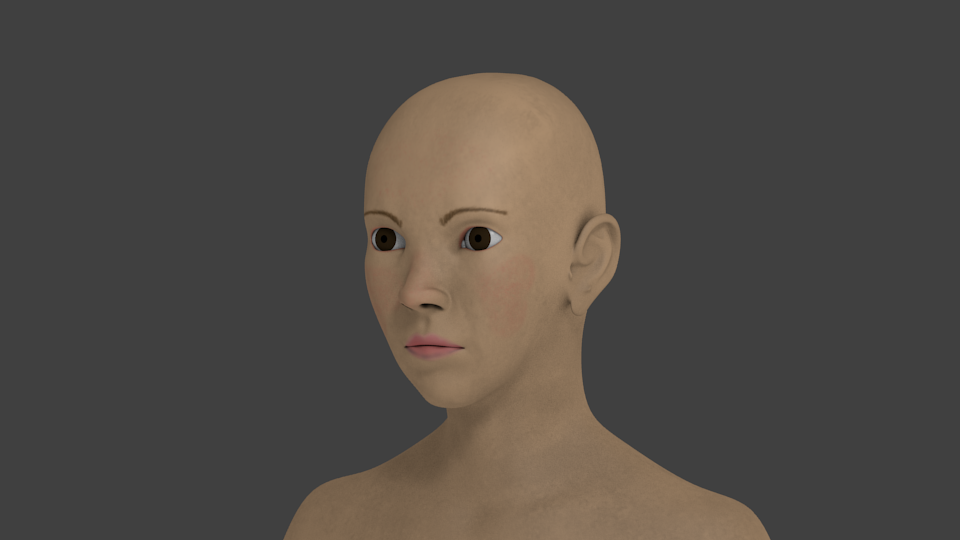
4.11.2011

Project: Edge progress 01

This project is called Project Edge and will be about this female bounty hunter who will go up against another criminal with a bounty on his head. I'm still studying the first draft but the short will be more on a fight scene between two characters, bounty hunter vs criminal. The setting theme will be more like the medieval era but it's fixed on a fictitious time frame. So far, here are the concepts for the female bounty hunter I'm currently considering:


Some weapons I'm currently looking at:


So far, this is what I have:


I just kinda started on her without using any reference image. I just eyed on the proportions and adjusted what I thought looked odd and this is what I came up with.

As for the script, I'm still deciding on whether to add dialogue or just keep it dialogue-less. I'm currently fixed on some parts of it, though, because I originally intend it to be a pure fight scene.

4.03.2011

Anna Final

Here's the final image and composition of Anna.

Photobucket

I'm now in the process of creating a "Making Of..." which I will be posting on my other website.

3.23.2011

Project: Anna progress 07

It has been a while since my last post. Progress 06 had actually been sitting as a draft for weeks now and I've just published it. Here's another progress of her.

anna paint over
This is just a test render with hair paintover. I was having problems with the hair. Good thing Max Evil of Blenderartists forum suggested a great tutorial about doing realistic hair painting. The hair is painted in Gimp using a mouse. I have to say, it turned out pretty great but if you zoom in that's when you'll see the faults (I'm not telling where :p). Here's the link to the tutorial.


Here's a test render of her further tweaked face. She looks more mature now than before. I originally planned to stick with the reference image I had but decided to try experimenting on her current topology. Certain looks can't be achieved if your topology is already formed unless you're gonna delete or add vertices. But in this case, I already have my textures done so changing the topology would entitle me to re-work on the textures as well, which is a hassle. I just push and pulled vertices here and there to achieve this look without adding or deleting any vertices.

smile shape key
Here's a render with the "smile" shape key I've added.

render with background
I've played around with Blender's compositor and got this result. I've rigged her so if ever I change my mind about a pose I can easily do it. The lighting on the previous image is pretty much what I'm sticking with. I like it's simplicity, how it brings out the highlights on her left side. Although what I really wanna achieve there is a well-distributed specular highlight, but I couldn't with my previous tests. I'm currently looking for ways to achieve that.
Here's what I'm talking about:
Stahlberg's skin shader
If you look at the bright specular highlights on the left of the character's head you'll see that the pores aren't visible anymore due to high specularity but I can't seen to achieve that in Blender.

render with hair and pose
This, so far, is what I have now. Her topology looks odd from this angle. I might have to tweak it some more.

2.20.2011

Project: Anna progress 06

Another update:

Here's a close up render of her. I was testing the bump map.


Another close up render with hair.

...and a far render showing her cloth.

2.13.2011

Project: Anna progress 05

Render updates:

Fixed the hair poking out of the ear.


Tweaked some parameters on the eye lens.


Re-did the skin shader with a multi-layered subsurface scattering.


Changed the resolution of the image and also the lights to produce buffer shadows.


Here's a high quality render.

2.11.2011

Project: Anna progress 04

Anna update:

Here's a render of her with a cloth I modeled using first the cloth modifier. I then applied the cloth, and then started sculpting it in sculpt mode.

This render has a temporary background. I'm planning on adding a depth-of-field effect on her like what I added on Leila but this time with a different approach. I'll use defocus instead of using blur node. Let's just see what happens later.

In this render, I already added a bump and a ramp color on the cloth to make it look like a cloth. I added two bump maps; a cloud and a voronoi noise just to make the bumps look varying.

fixed,hair,problem,cloth,changed,color
I changed the cloth color here and fixed her hair problems she had before this render, specifically right through the ears. Another flaw I wish to fix is the light blue outlining on her right shoulder. I'm still looking into fixing this problem. This is caused by the hair, I'm sure.

2.10.2011

Project: Anna progress 03

Update renders on Anna:

Here's a render on her right side. I'm not happy with her hair, though.

...so here's a revised version of her hair. Can't seem to get the artifacts off of her cheeks. That's a hassle.

I thought I got rid of the artifacts here having a background plane but it seems the outline on her cheeks were just smoothed out.

2.07.2011

Project: Anna progress 02

Update on renders:

bump map added
[render with bump and diffuse map]


The render above includes a test bump map. Painting bump maps is one of the hardest process for me with regards to human faces. You have to take into account what kind of skin she has: sweaty or dry. Then I have to consider the amount of pores that sticks out from the skin. There are different types of facial skin and they all vary with age. Of course, the older your model is, the more wrinkles and stretch marks she'll have. I'm planning to model an old man someday. I just got inspired by a recent event and the old guy portrait from Blender's gallery. Technically, the older the model is, the harder the bump map is, the greater the challenge. I'm still learning, though, on how to create bump maps from real images, how professionals do it. I have to get a hold of a high resolution picture first in order for me to do that.
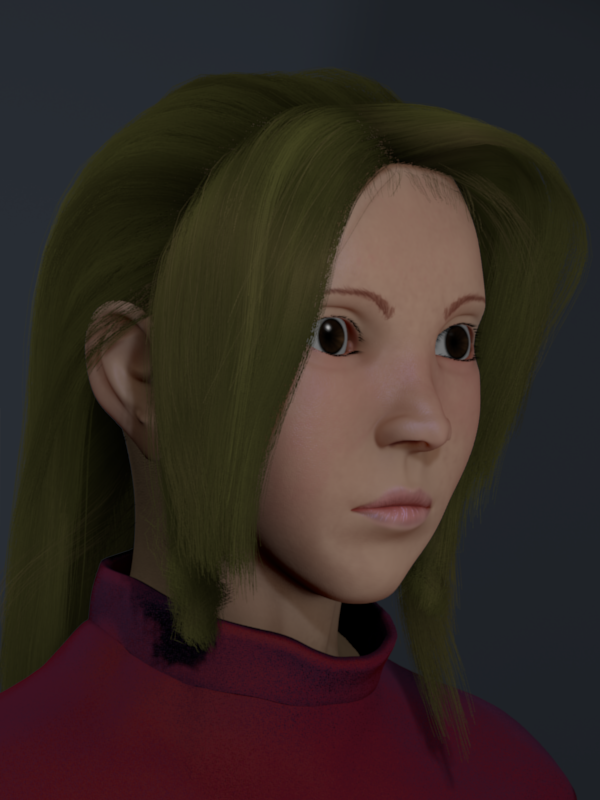
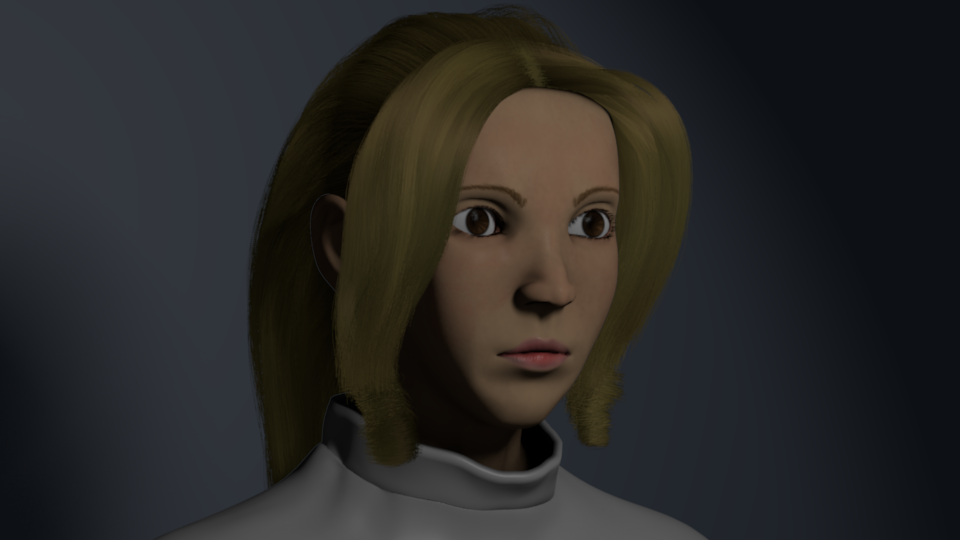
specular,map,anna
[specular map added]


Painting the specular map is the easiest of the three (diffuse, bump, specular) maps I have to paint. I only paint the portions of the face that shines when being lit, specifically, the cheeks, the bridge and tip of the nose, and the forehead. Gimp is really a great on achieving this. I always use the galaxy brush to achieve this effect instead of the soft, faded one (which I used before Leila) because specular highlights on the face doesn't really occur uniformly all throughout. I've noticed that Blender artists don't show their human models with specular highlights and I think that's why they look kinda odd to me. In real life when you look at someone's face, there's specularity glaring off of the face. It only depends on how hard or how soft it is. It's also one of the factors that makes the skin shader look more realistic.
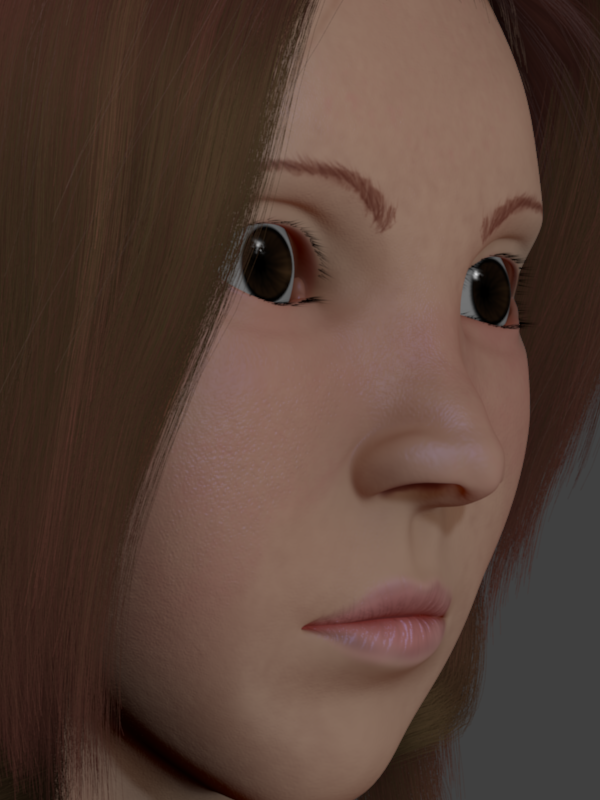
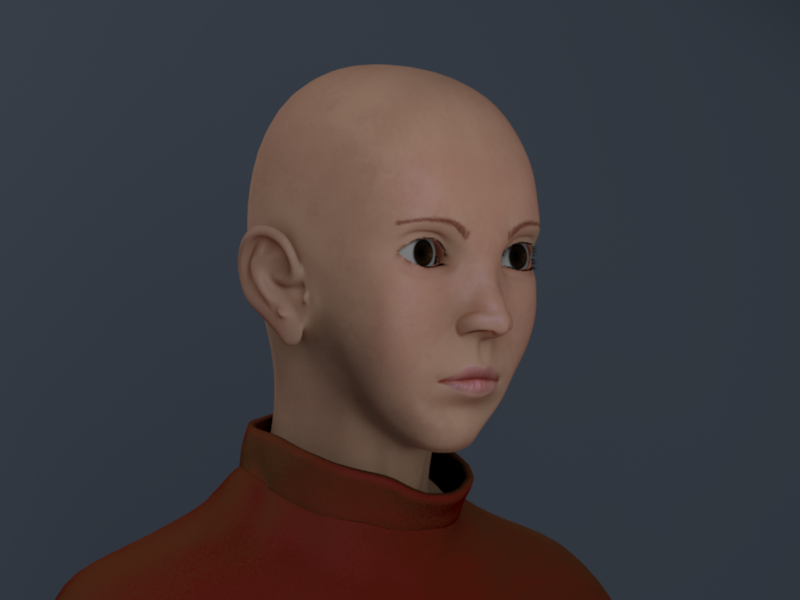
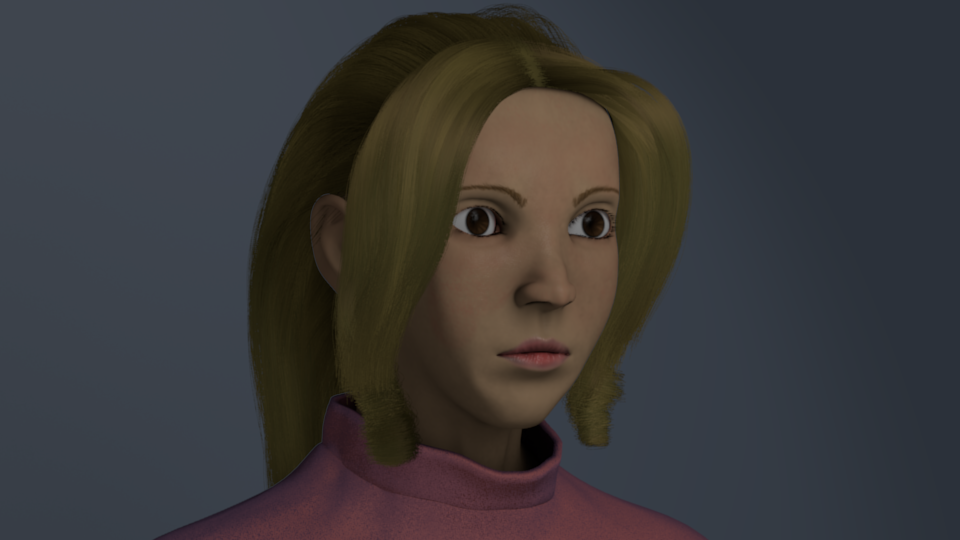
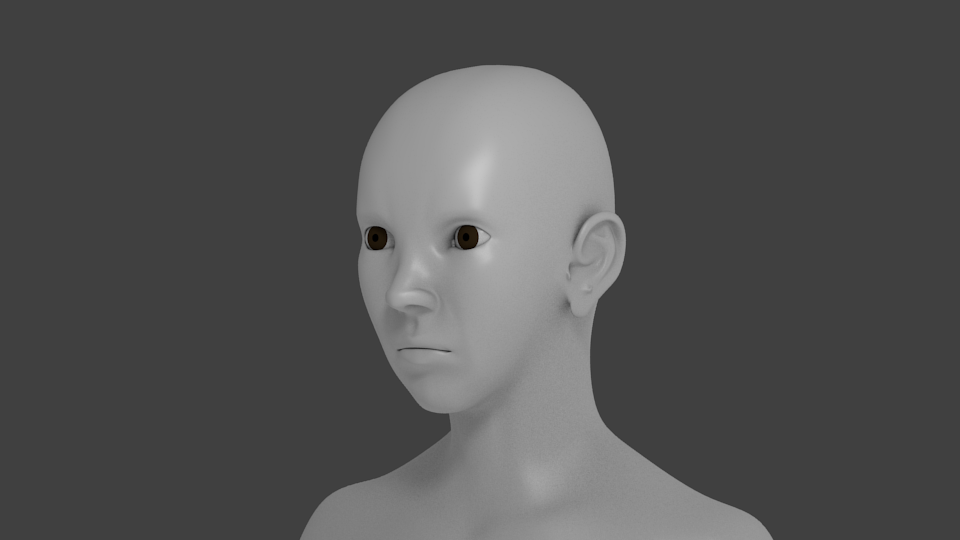
fixed SSS parameters
[fixed SSS parameters]


In this render, I already fixed the subsurface scattering (SSS) parameters. Now her skin looks more organic than before. I have to be consistent on the shape of the models whenever I'm modeling in order for me to just reuse the shaders I've set before because setting up the parameters just takes more time including the test renders of it. This model takes up approximately 2x2 blender units and the scale is set to 0.210. The RGB radius is set to 1.000, 0.600, and 0.300 respectively. I usually set it like this, 1.000 being the to avoid confusion everytime I set it up. I've seen SSS on a character paired with low specularity hardness and it was done quite nicely and I want to achieve the same effect with this model.
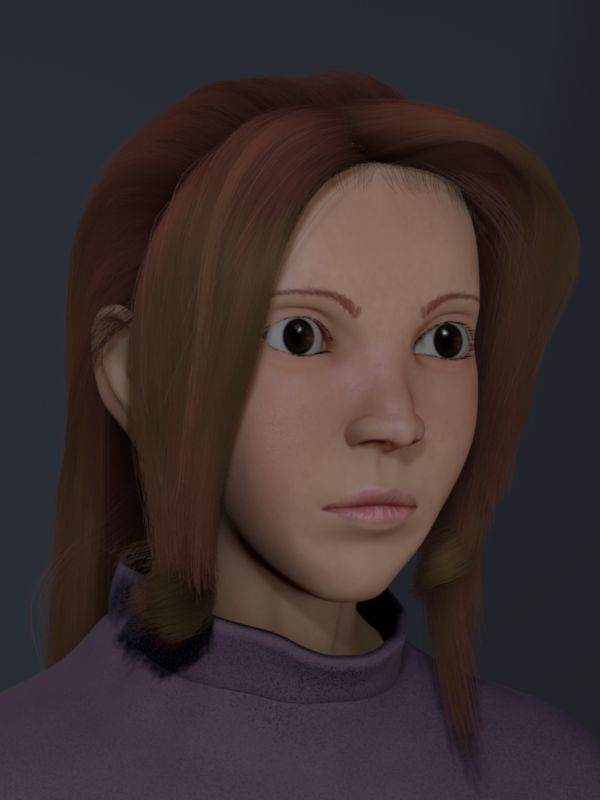
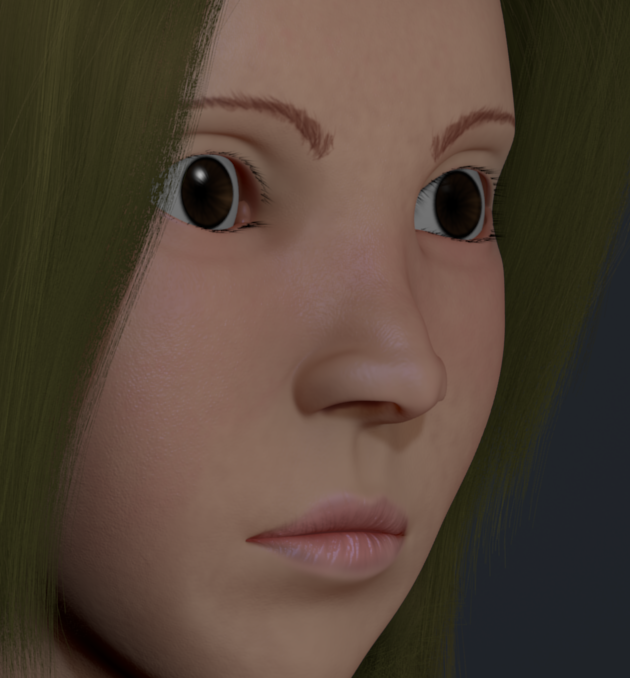
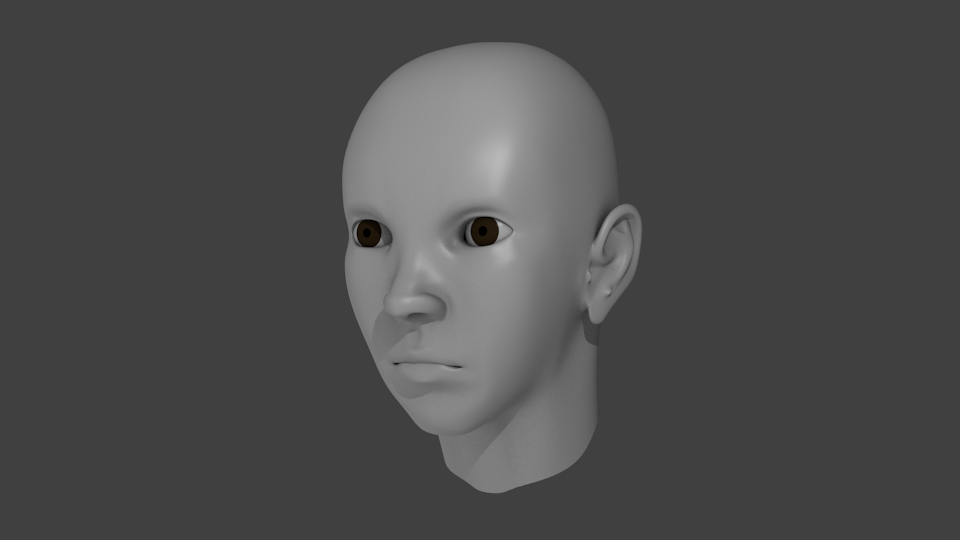
fixed,eye,anna
[fixed eye]


Finally fixed the eye model. People at Blender Artists forum were wondering if she's going to be an anime-type model because of the previous eyes. When texturing the eyes, my main problem is the black circle that surrounds the outer edge of the cornea. I tried achieving this with pure procedural textures with the help of compositing nodes but can't seem to get it done. I'm now opting on just baking the basic texture in Blender and just painting it in Gimp.

2.04.2011

Project: Anna progress 01

Here's another project I'm currently doing called Anna. Here's her very first render:


I added a shoulder for her so I won't have any problem with the camera angles later like what I had with my previous one.


Here's her current diffuse texture. It isn't finished yet.

Her eyebrows are hand-painted (mouse painted actually). I didn't know I could paint eyebrows like this using only my mouse. I'm still craving for a tablet, though. It'll make my life a lot easier.

This is it for now.

1.29.2011

Project: Leila post production

Here's an edited render of Leila. I'm just following what the crits are suggesting at BlenderArtists forum. Here is what I have came up so far:
Leila re-rendered with fixed cornea and iris
[another final render]


I've scaled down the cornea and the iris to match the size of the eyelids so she won't look like a doll or something. I figured that's the thing that makes her look odd. I also fixed the lighting on her eyes: I've included a spot light that lights only the layer where the eyes are. This is to illuminate the cornea better to highlight its color. Right now it gives more character to the whole portrait. I found out that there were two hemi lights located at her right side subtly lighting the right side of the face. I removed the other one and slightly increased the one remaining to normalize the lighting of the shadow on the right side of her face.

Progress Update

Leila,fixed hair
[fixed hair]


I fixed the hair to make it look more messy because I didn't like her previous one. I figured since I'm editing her and going to be rendering for another 10 long minutes, why not fix her hair.

Here's the Blender color tweak using nodes:
leila,fixed hair
[Blender Compositor Render]


...and here's the Gimp retouch:
Leila,Gimp,retouch
[Gimp retouch]


I had to save a Gimp file (.xcf) file for this last one since I may be doing another Gimp retouch in the future if I need to edit it again. I should have figured this out 3 final renders before. So this is the current final render for Leila, hope you like it.

1.28.2011

Project: Leila progress 07

Here's the final progress of Project Leila.

Leila fixed textures
[fixed textures]


On this render, I improved the textures a bit to make it look more realistic because she really looked like a mannequin before.

leila,final render
[final internal render]


This render is the final internal render from Blender. I just left the plane backdrop there to eliminate the artifacts at her cheeks. I then played with the lights to achieve the result above.

leila,blender retouch,color,nodes
[Blender retouch render]


I took the previous picture and then created a new .blend file to create a post-processing of the image. I then played with the color curves using the Node Editor to get a look like the one above.

Leila,final render,blender 3d,gimp
[final render Gimp retouch]


Here's the final render. I used Gimp to put some background on it and also to put reflections on her eyes. I don't wanna wait for another 10 minutes just to get a reflection from her eyes.

So, I hope you guys enjoy it and you learned something from this.
Visit my website here.