Update on renders:
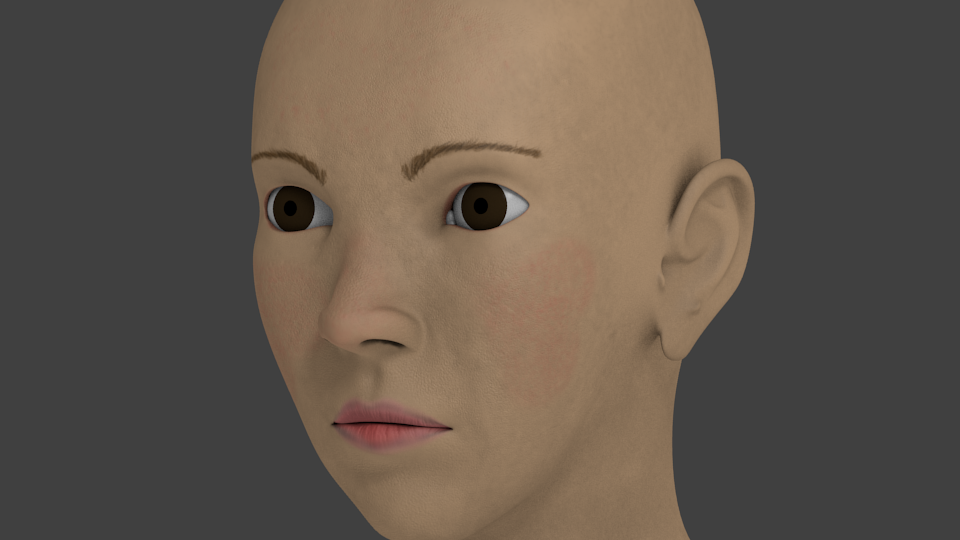
[render with bump and diffuse map]The render above includes a test bump map. Painting bump maps is one of the hardest process for me with regards to human faces. You have to take into account what kind of skin she has: sweaty or dry. Then I have to consider the amount of pores that sticks out from the skin. There are different types of facial skin and they all vary with age. Of course, the older your model is, the more wrinkles and stretch marks she'll have. I'm planning to model an old man someday. I just got inspired by a recent event and the old guy portrait from Blender's gallery. Technically, the older the model is, the harder the bump map is, the greater the challenge. I'm still learning, though, on how to create bump maps from real images, how professionals do it. I have to get a hold of a high resolution picture first in order for me to do that.

[specular map added]Painting the specular map is the easiest of the three (diffuse, bump, specular) maps I have to paint. I only paint the portions of the face that shines when being lit, specifically, the cheeks, the bridge and tip of the nose, and the forehead. Gimp is really a great on achieving this. I always use the
galaxy brush to achieve this effect instead of the soft, faded one (which I used before Leila) because specular highlights on the face doesn't really occur uniformly all throughout. I've noticed that Blender artists don't show their human models with specular highlights and I think that's why they look kinda odd to me. In real life when you look at someone's face, there's specularity glaring off of the face. It only depends on how hard or how soft it is. It's also one of the factors that makes the skin shader look more realistic.
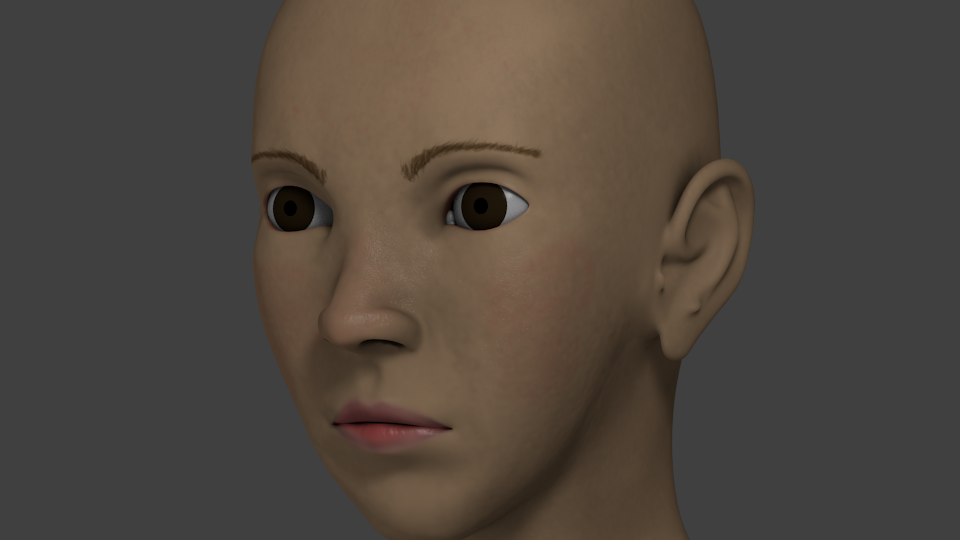
[fixed SSS parameters]In this render, I already fixed the subsurface scattering (SSS) parameters. Now her skin looks more organic than before. I have to be consistent on the shape of the models whenever I'm modeling in order for me to just reuse the shaders I've set before because setting up the parameters just takes more time including the test renders of it. This model takes up approximately 2x2 blender units and the scale is set to 0.210. The RGB radius is set to 1.000, 0.600, and 0.300 respectively. I usually set it like this, 1.000 being the to avoid confusion everytime I set it up. I've seen SSS on a character paired with low specularity hardness and it was done quite nicely and I want to achieve the same effect with this model.
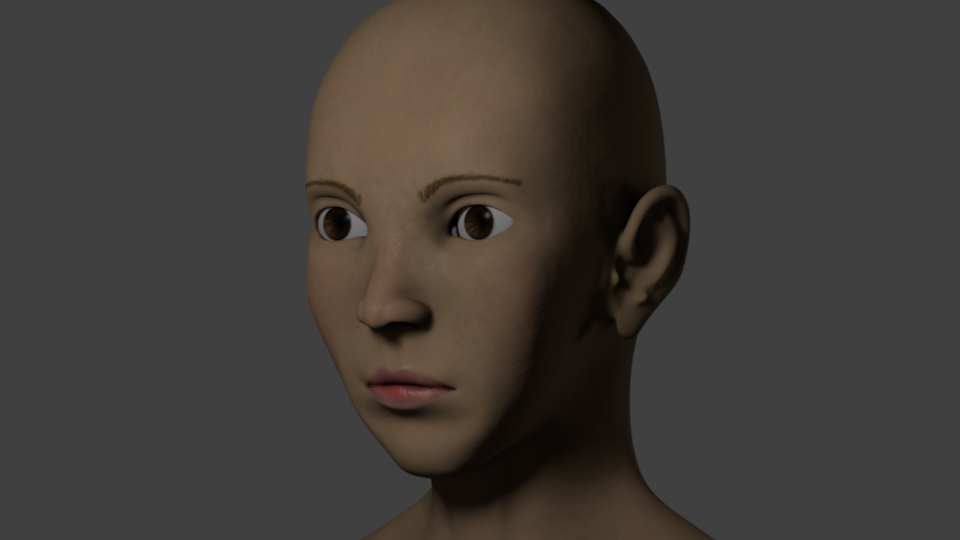
[fixed eye]Finally fixed the eye model. People at Blender Artists forum were wondering if she's going to be an anime-type model because of the previous eyes. When texturing the eyes, my main problem is the black circle that surrounds the outer edge of the cornea. I tried achieving this with pure procedural textures with the help of compositing nodes but can't seem to get it done. I'm now opting on just baking the basic texture in Blender and just painting it in Gimp.
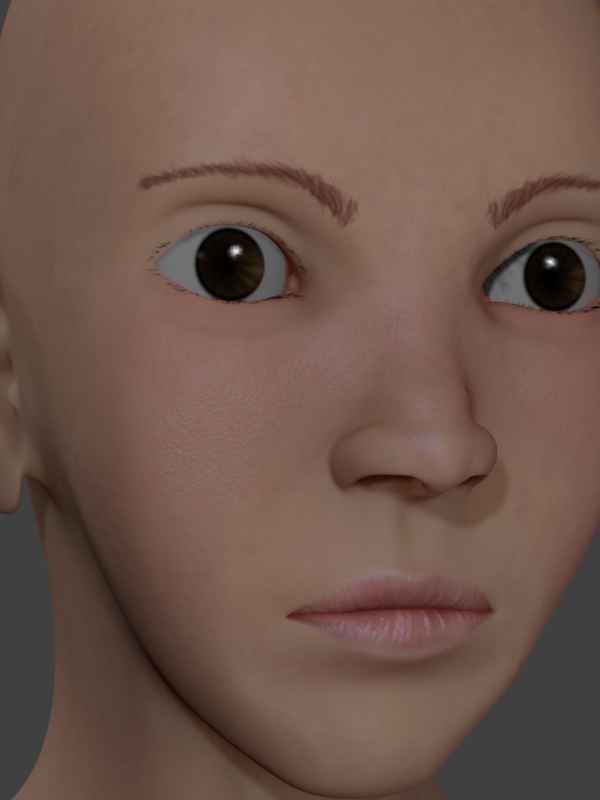 Here's a close up render of her. I was testing the bump map.
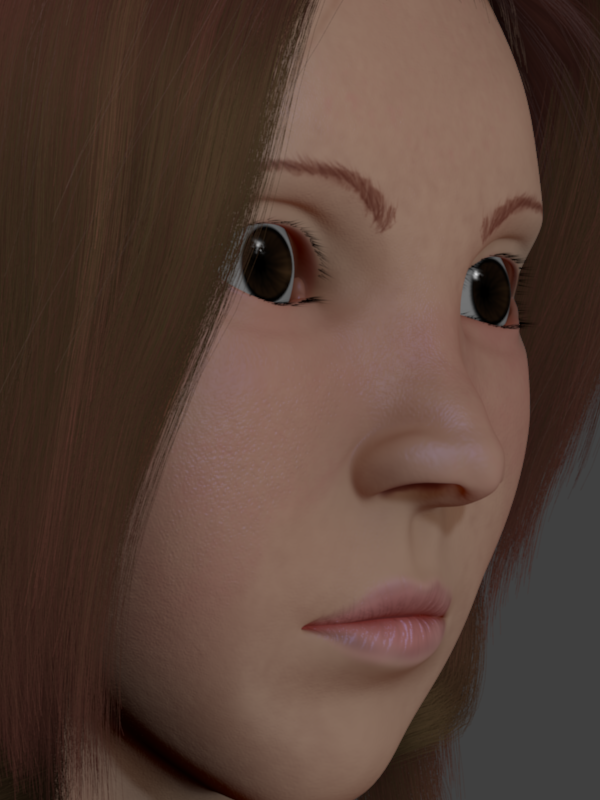 Another close up render with hair.
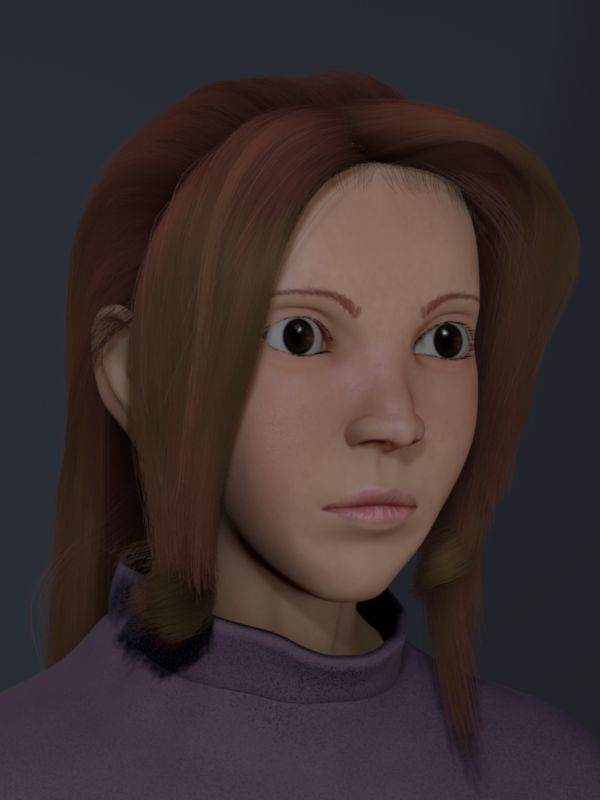 ...and a far render showing her cloth.
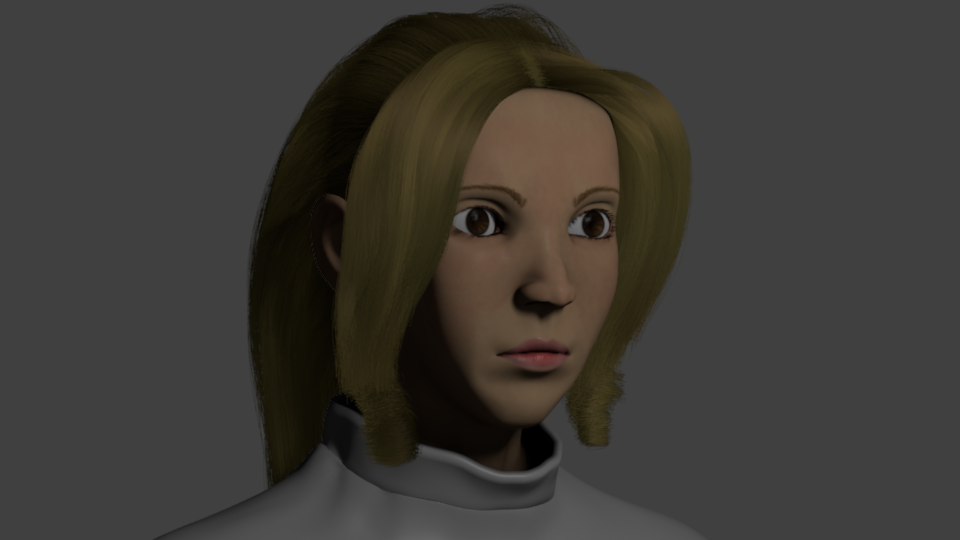 Here's a render of her with a cloth I modeled using first the cloth modifier. I then applied the cloth, and then started sculpting it in sculpt mode.
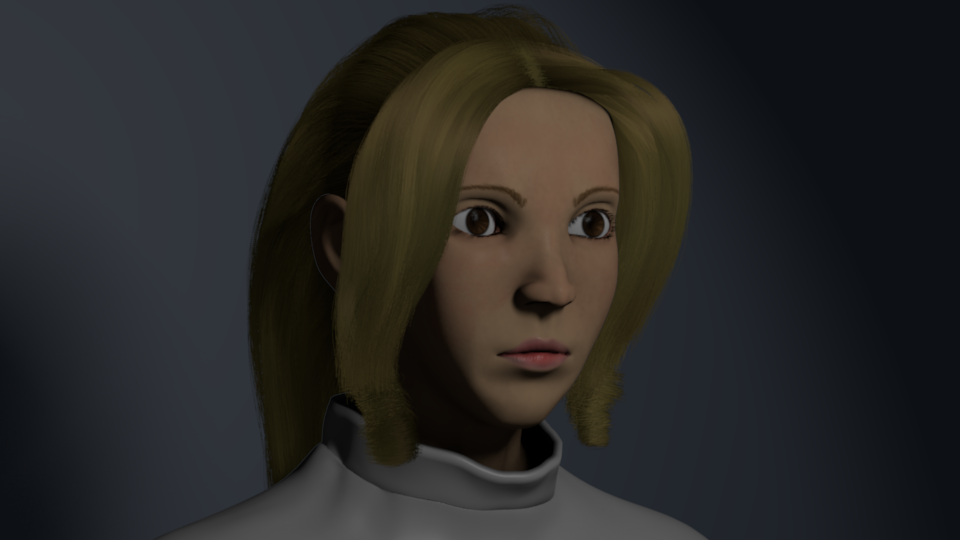 This render has a temporary background. I'm planning on adding a depth-of-field effect on her like what I added on Leila but this time with a different approach. I'll use defocus instead of using blur node. Let's just see what happens later.
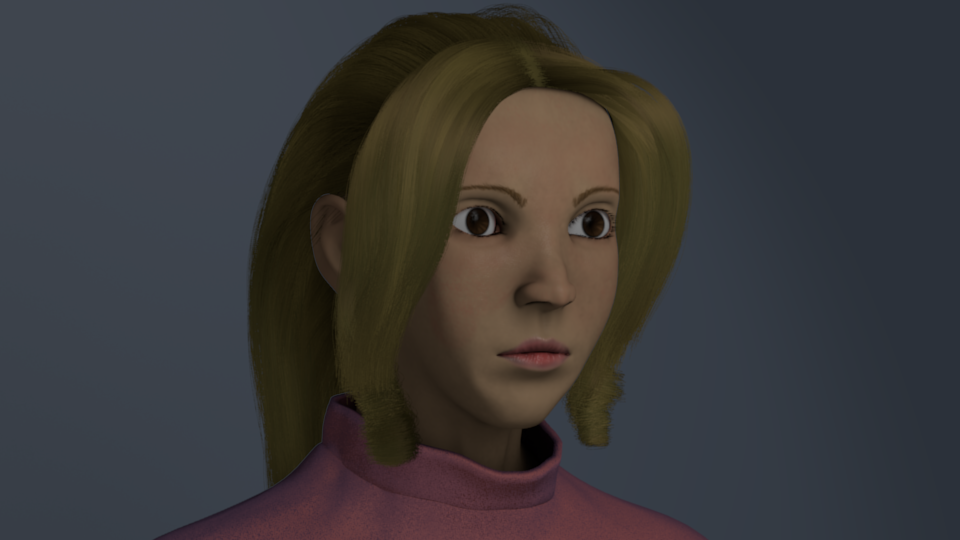 In this render, I already added a bump and a ramp color on the cloth to make it look like a cloth. I added two bump maps; a cloud and a voronoi noise just to make the bumps look varying.
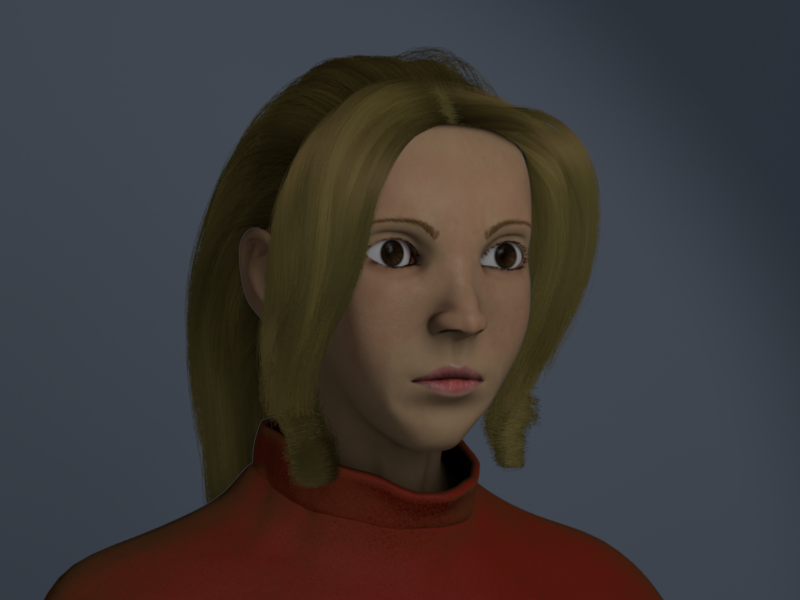
 Here's a render on her right side. I'm not happy with her hair, though.
 ...so here's a revised version of her hair. Can't seem to get the artifacts off of her cheeks. That's a hassle.
 I thought I got rid of the artifacts here having a background plane but it seems the outline on her cheeks were just smoothed out.


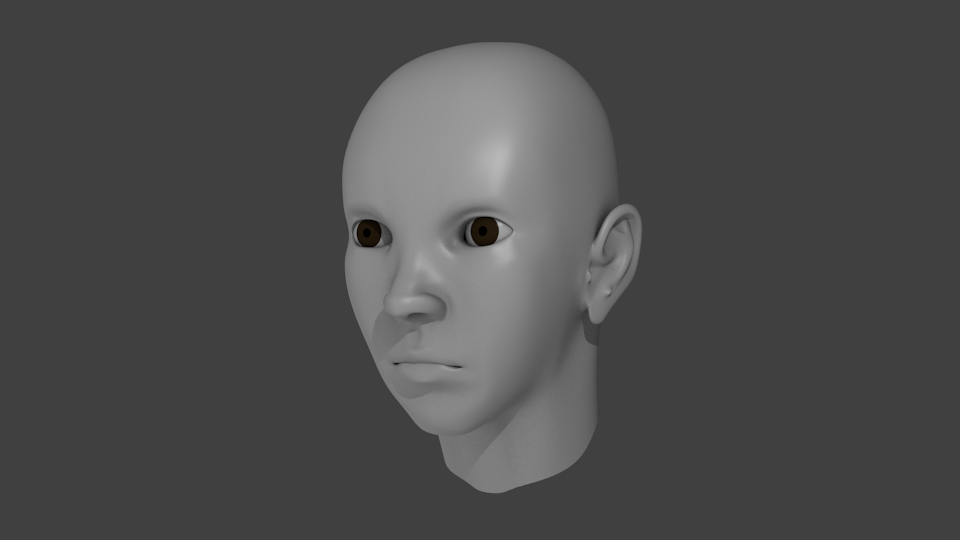
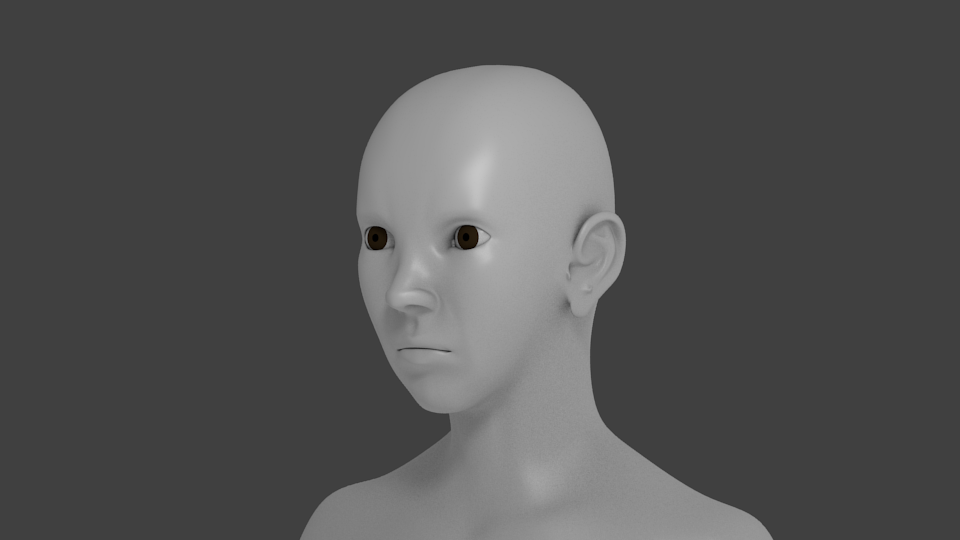
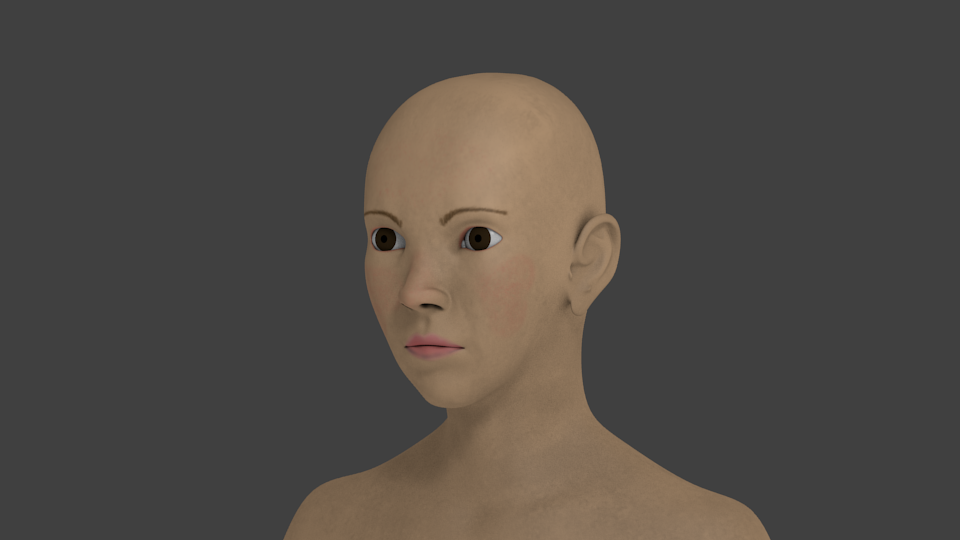 Her eyebrows are hand-painted (mouse painted actually). I didn't know I could paint eyebrows like this using only my mouse. I'm still craving for a tablet, though. It'll make my life a lot easier.